Tracking Your Project Expenses in the Expense Tracker
Learn how to track your house flipping project expenses in the expense tracker.
The Expense Tracker tool is used to track your Actual Project Expenses on your Project. The Expense Tracker is where you will track your Purchase Expense, buying, holding, selling, and financing expenses, as well as your Repair Expenses.
Let’s start by adding an expense to the Expense Tracker and then we will discuss the different ways you can organize and categorize your Expenses.
To add an Expense click the green Add Item button in the upper right hand corner.
Once you click the green add button, a popup window will open to Add an Expense Item.
The first item is the date which is generally the today’s date, but it can also be either the date the Expense was Invoiced or Deposited.
Then you will want to input a description of the Expense. Our first expense that we want to Add will be our Purchase expense, so I’m just going to input a brief description Purchase Amount Paid for Property”.
Next, you will want to select an Account which tracks your Expenses by Accounts such as a Bank Account, Checking Account, Credit Card or Expense Reimbursement Account.
If you don’t have any Accounts added yet, you will be prompted to Add an Account. We paid for the property out of our Chase Checking Account, so we will add that as a new Account to the system.
Accounts are stored universally, so our Chase Checking Account will be available for all other future projects as well.
Next, we need to select the Vendor that was paid. The vendor is the contractor, supplier or individual that was paid for the goods or services. We bought the property as a foreclosure from Wells Fargo, so I’m going to add Wells Fargo as a Vendor.
Vendors are also stored universally and….You can manage, add, edit and delete your Vendors on the Vendors Dashboard which can found in the sidebar or by clicking the person icon along the Top Nav bar.
Next, you can select a Category which is used to Categorize your Expenses as purchase expenses, buying, holding, selling or financing expenses, and repair expenses. This expense was for the Purchase of the property so I am going to select Purchase Price from the dropdown menu.
And finally, the last classification is Expense Class which designates the expense as either Labor, Material or Other.
The final entry amount is the Expense $ amount, which is the amount you paid for the goods or services.
Once you have everything categorized and classified, you can click ‘Save Item’ which will add the item to your Expense Tracker.
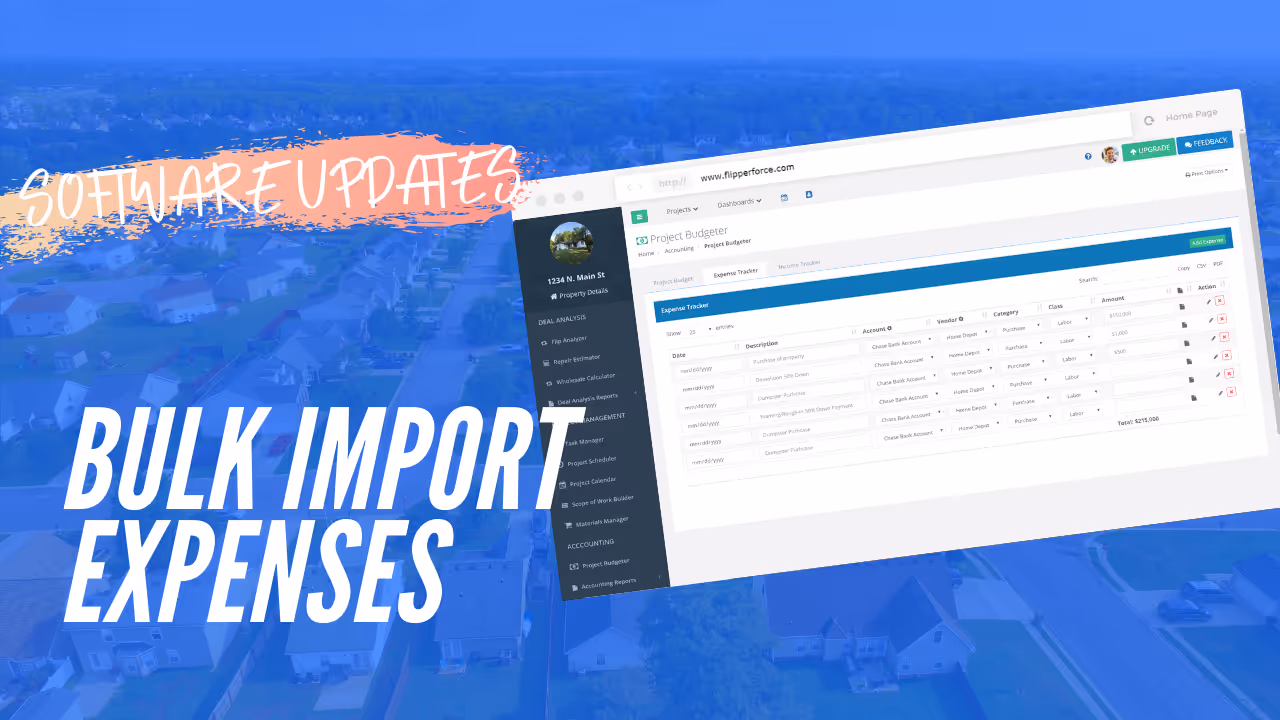
If you ever need to change the Expense in the future, you can change the Account, Vendor, Category or Amount directly in the Expense Tracker.
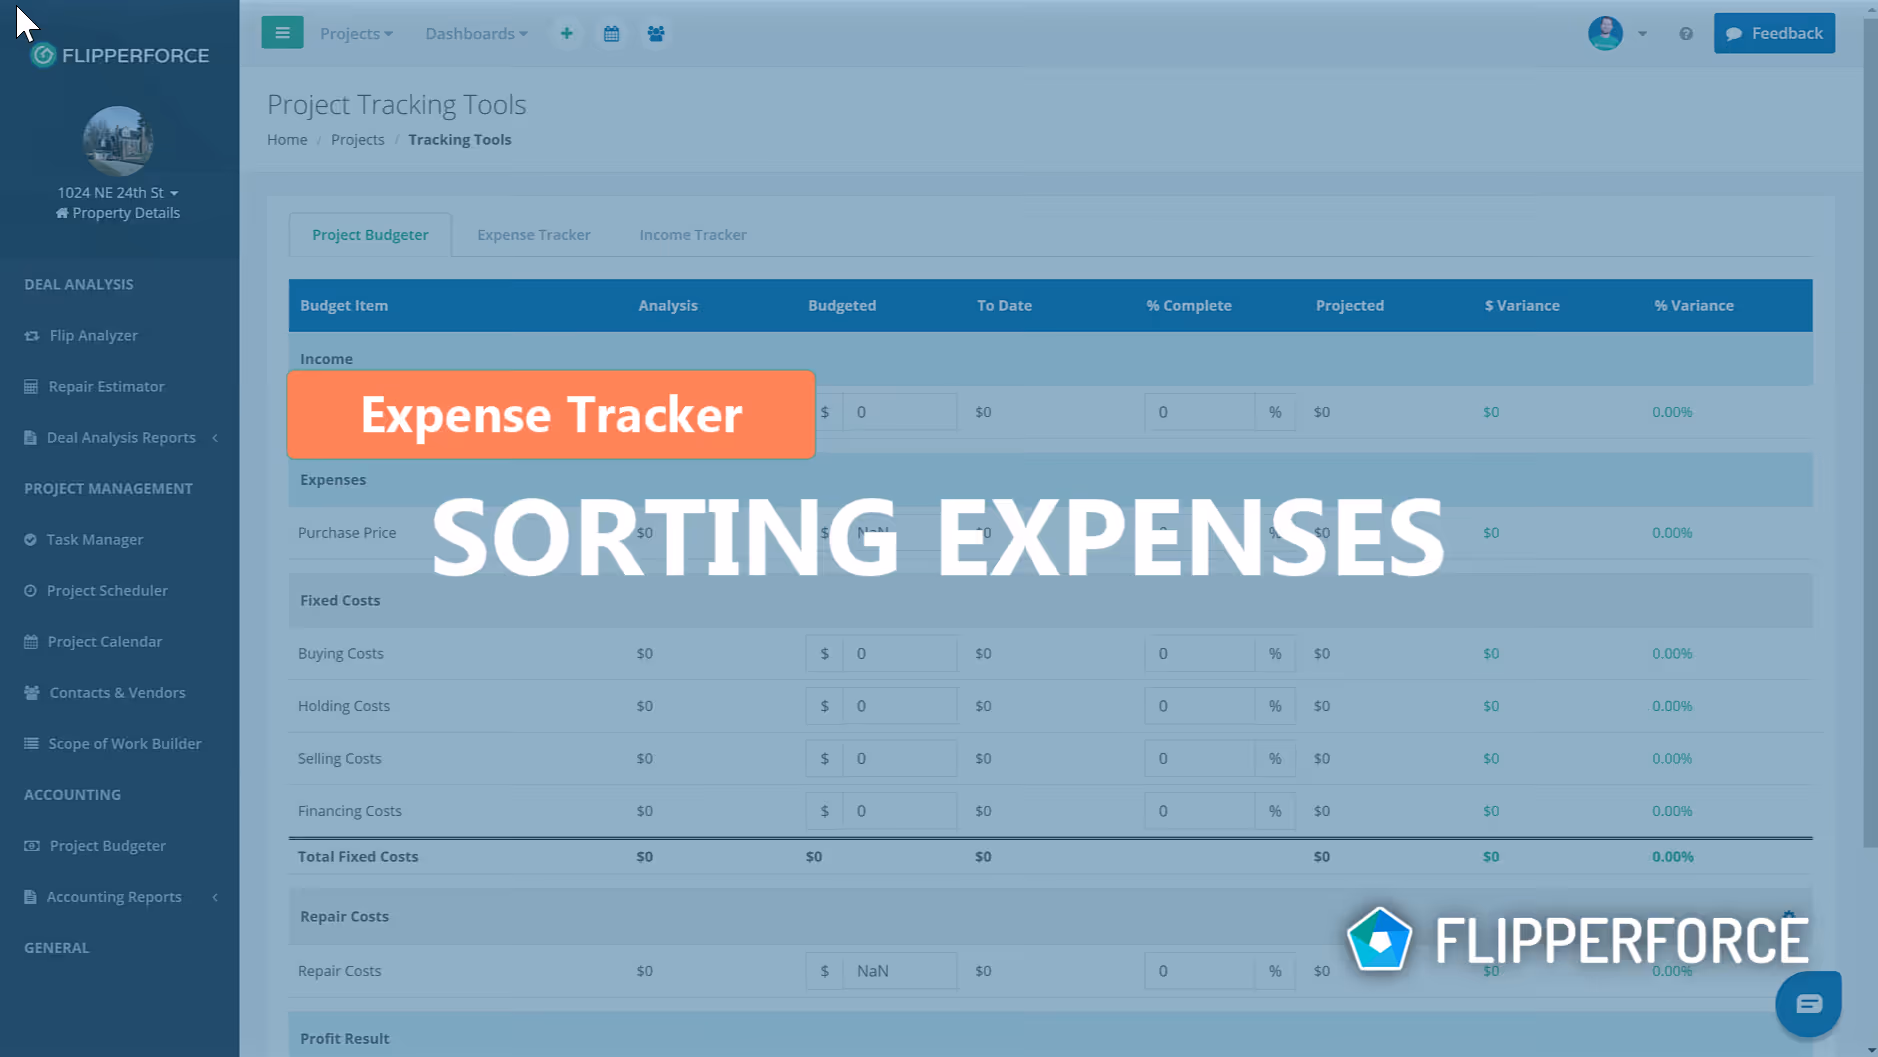
When the expenses start to pile up in the Expense Tracker, you can use our Sort functionality to help find expenses and sort expenses by Date, by Account, by Vendor or by Category.
Once you get your Expenses uploaded these values will feed over to the Project Budgeter based upon the Categories that you have selected. You can then compare your Actual Spent To Date amounts with your Initial Budget and forecast your project costs.
You can also use our Expense Reports to provide printer friendly and shareable reports that you can share with your business partners, investors, lenders and accountants.

.avif)